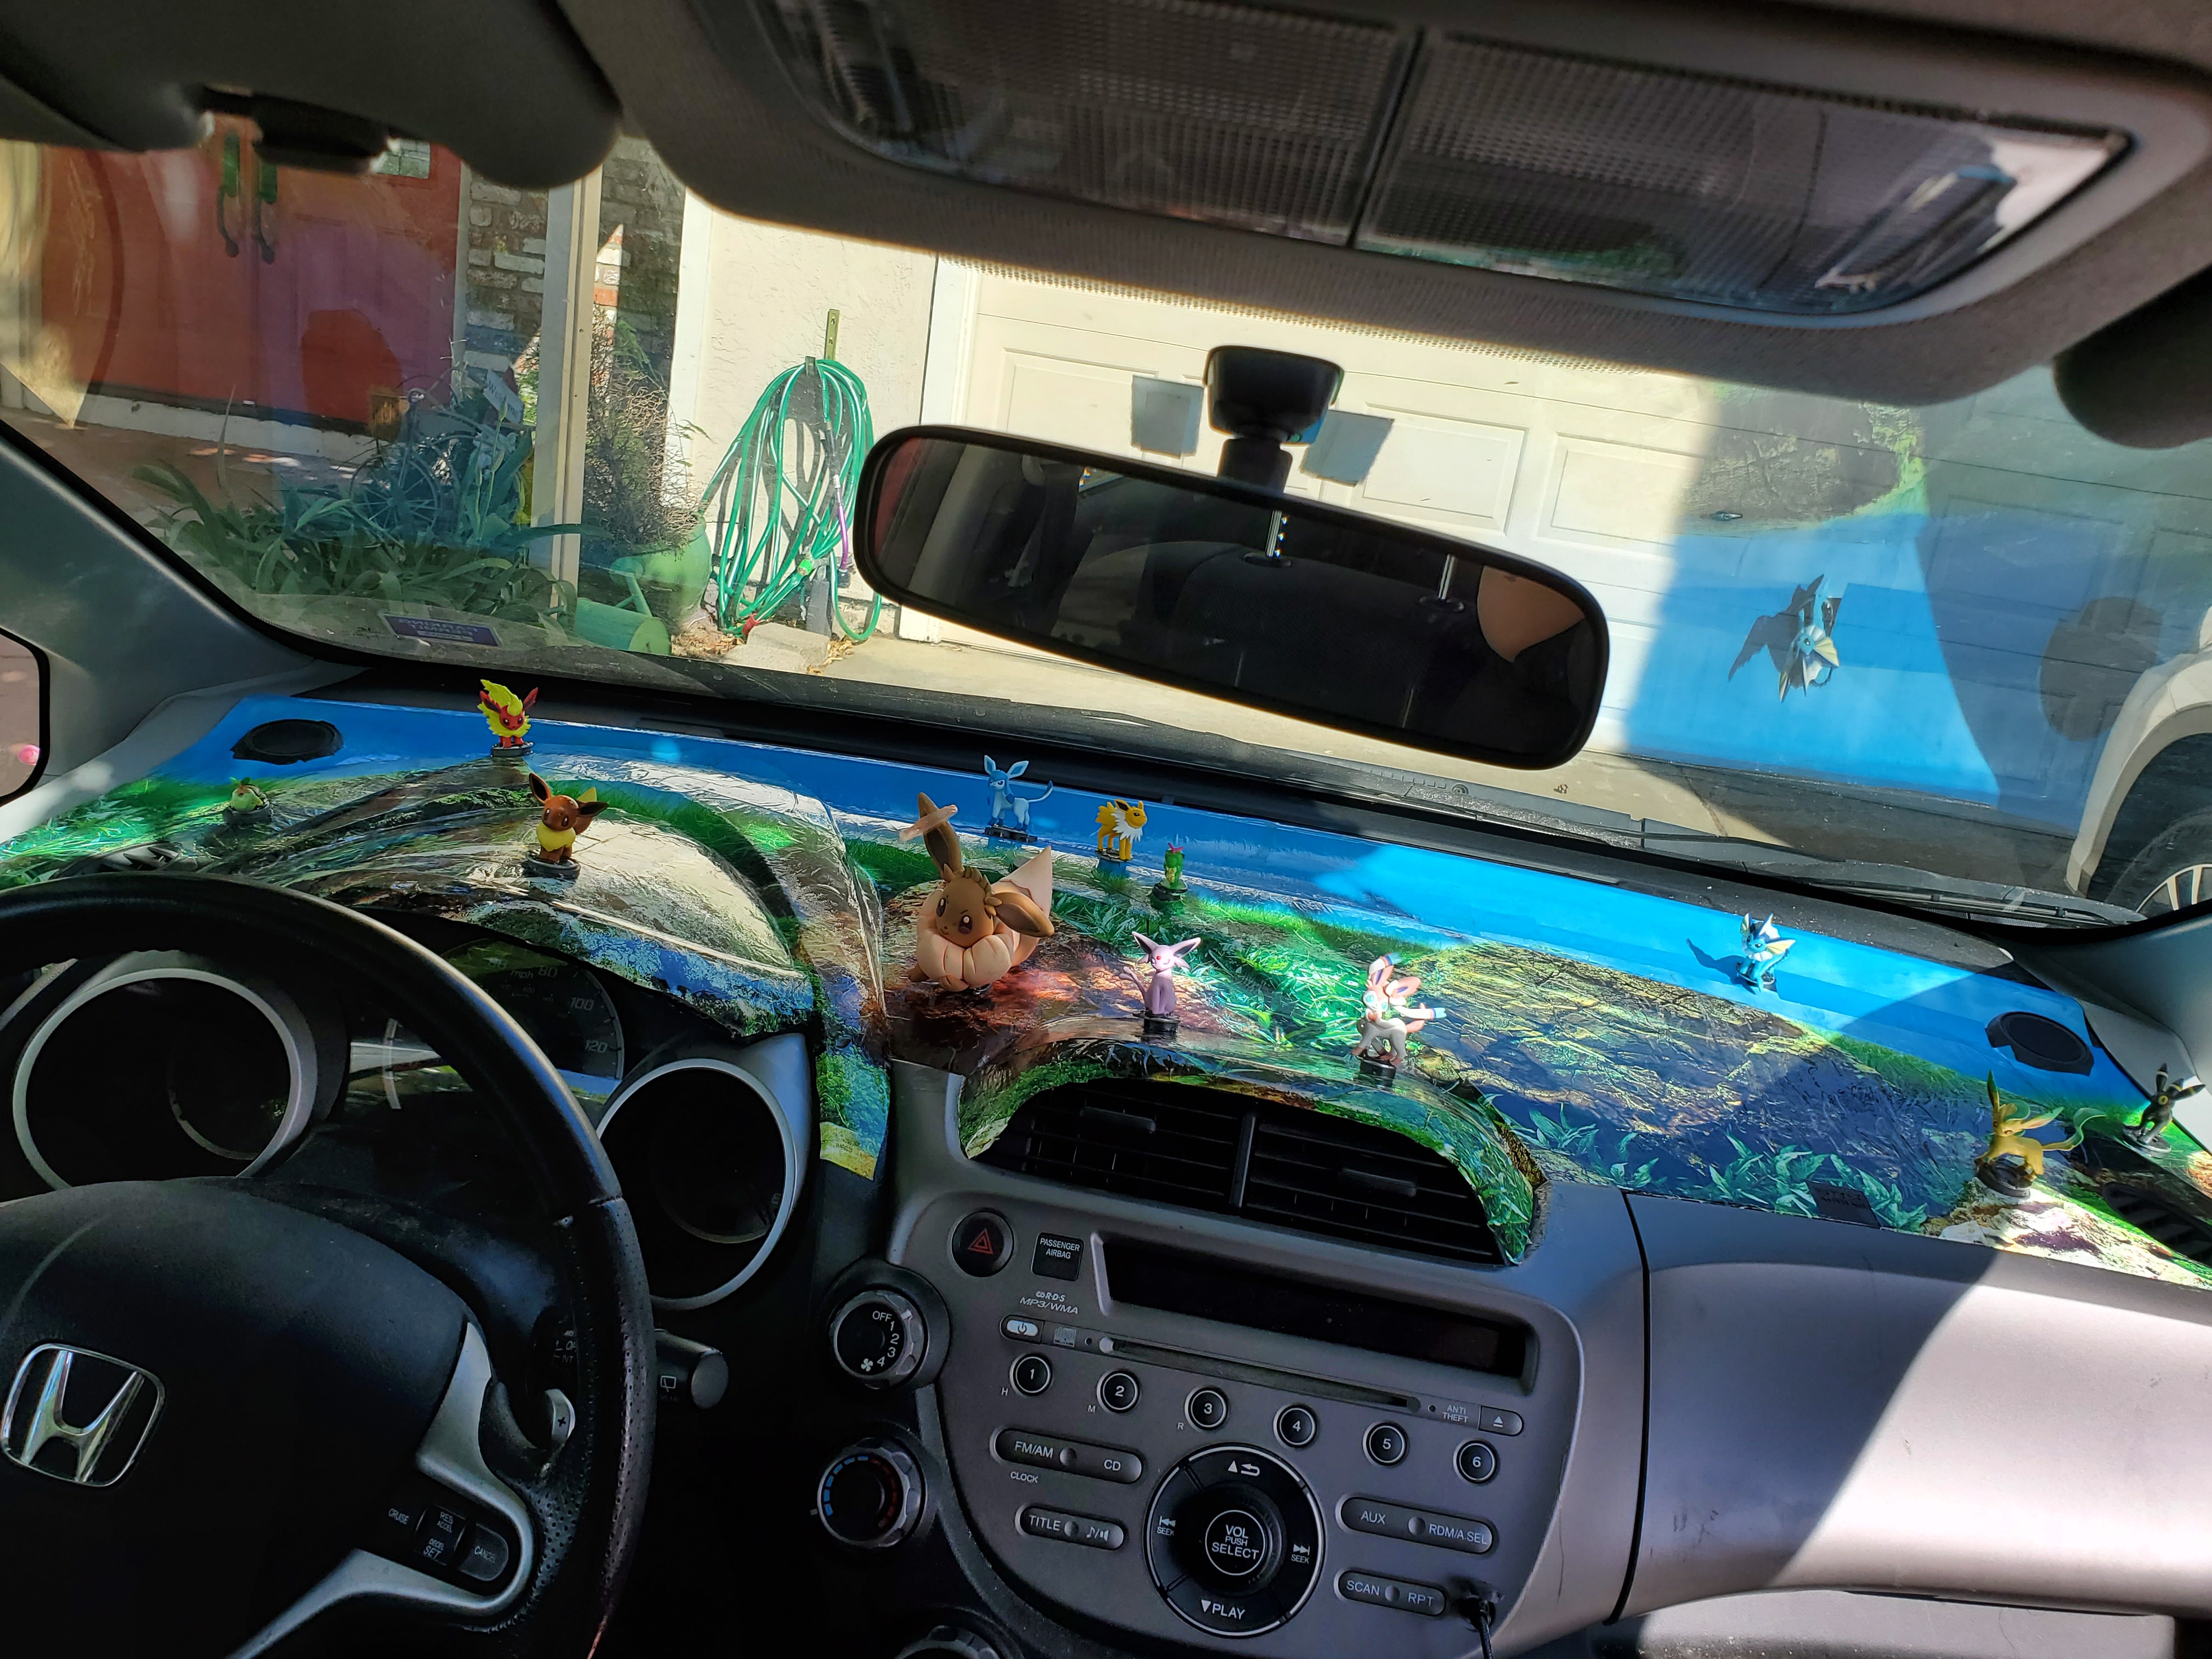
We all have our little quarantine projects. I’ve had a few. Reorganizing the cluttered tupperware in our cabinets. Getting the furniture in a spare bedroom ready for our new son in November. My more frivolous project has been installing a Pokémon themed display on my dashboard.
I started off simple. I wanted the display to be modular, so I could move the Pokémon around or play with them (not while driving). That meant instead of super-gluing the figurines directly to the dashboard, I would glue them to metal washers. I glued ceramic magnets to the dashboard (all using heat-resistant epoxy so it won’t soften in the summer heat). Then the Pokémon could be moved around to create different displays. I can even switch the Pokémon out entirely if I want and put in some other type of figurine!
So that looked good. It was fun. I liked it. But the dashboard was still a boring black color. How could I spice it up?
I looked around for dashboard decals. Some car models have them, but they’re rare and often mono-colored. I wanted something more like a natural landscape.
I was at a friend’s house playing boardgames when I saw their fish tank. They had a sticker on the back with an underwater seaweed scene on it. Fish tanks have natural backgrounds! I could use one of those as a dashboard sticker! I’d just have to cut it to form decals in the right shapes.
Next problem I encountered while looking at fish tank background stickers. I shouldn’t have been surprised at this, but all of them are clearly underwater scenes. I found only one background that wasn’t obviously a water scene, but it came as a vinyl sheet. No adhesive to attach it with.
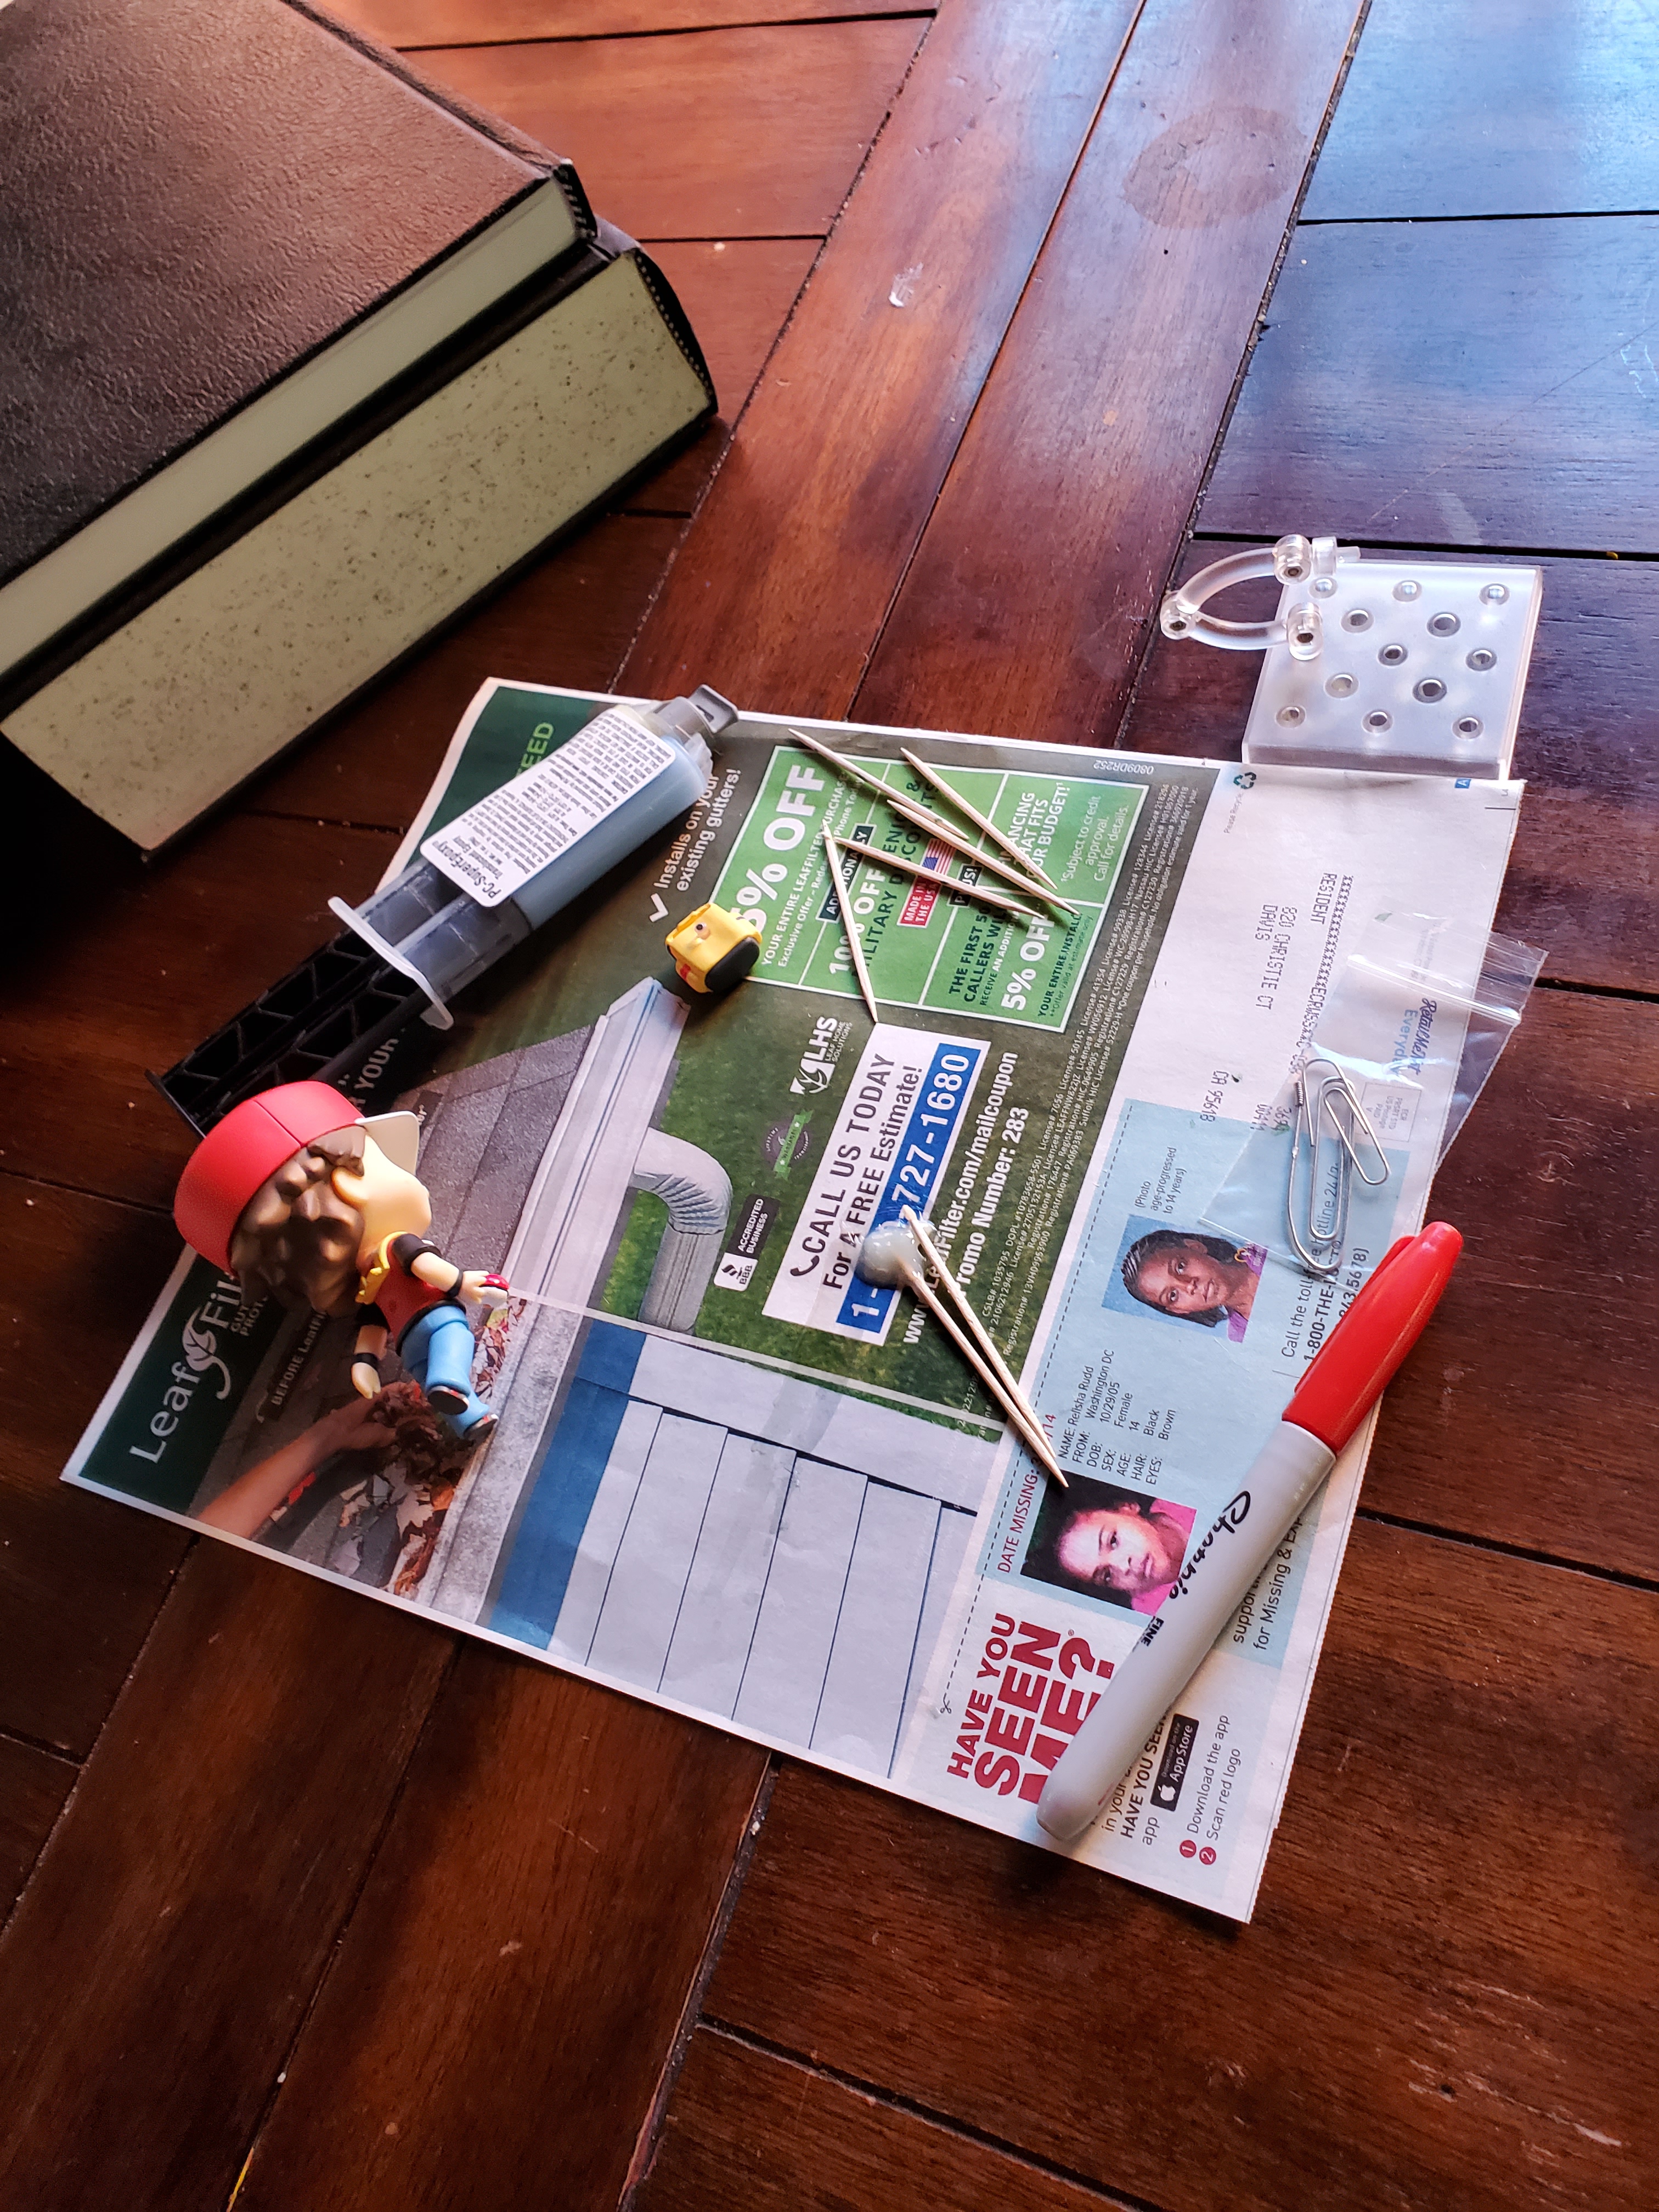
So, I had to find a heat-resistant paintable glue that would attach a vinyl sheet to a plastic dashboard. I went to the hardware store and found contact cement. It’s paintable, heat-resistant, permanent, and a pain in the ass to use, but it did what I needed to do.
I spent the next few weeks cutting the vinyl sheet up, painting the cut section with contact cement, and gluing it down. I had to go slowly. Each section needed to be small to minimize wrinkles caused by gluing a flat sheet to an uneven surface. I could only do one section at a time because the sections were slippery until the contact cement set. Trying to glue a section down to one that hadn’t dried yet meant that the first section would slide out of place.
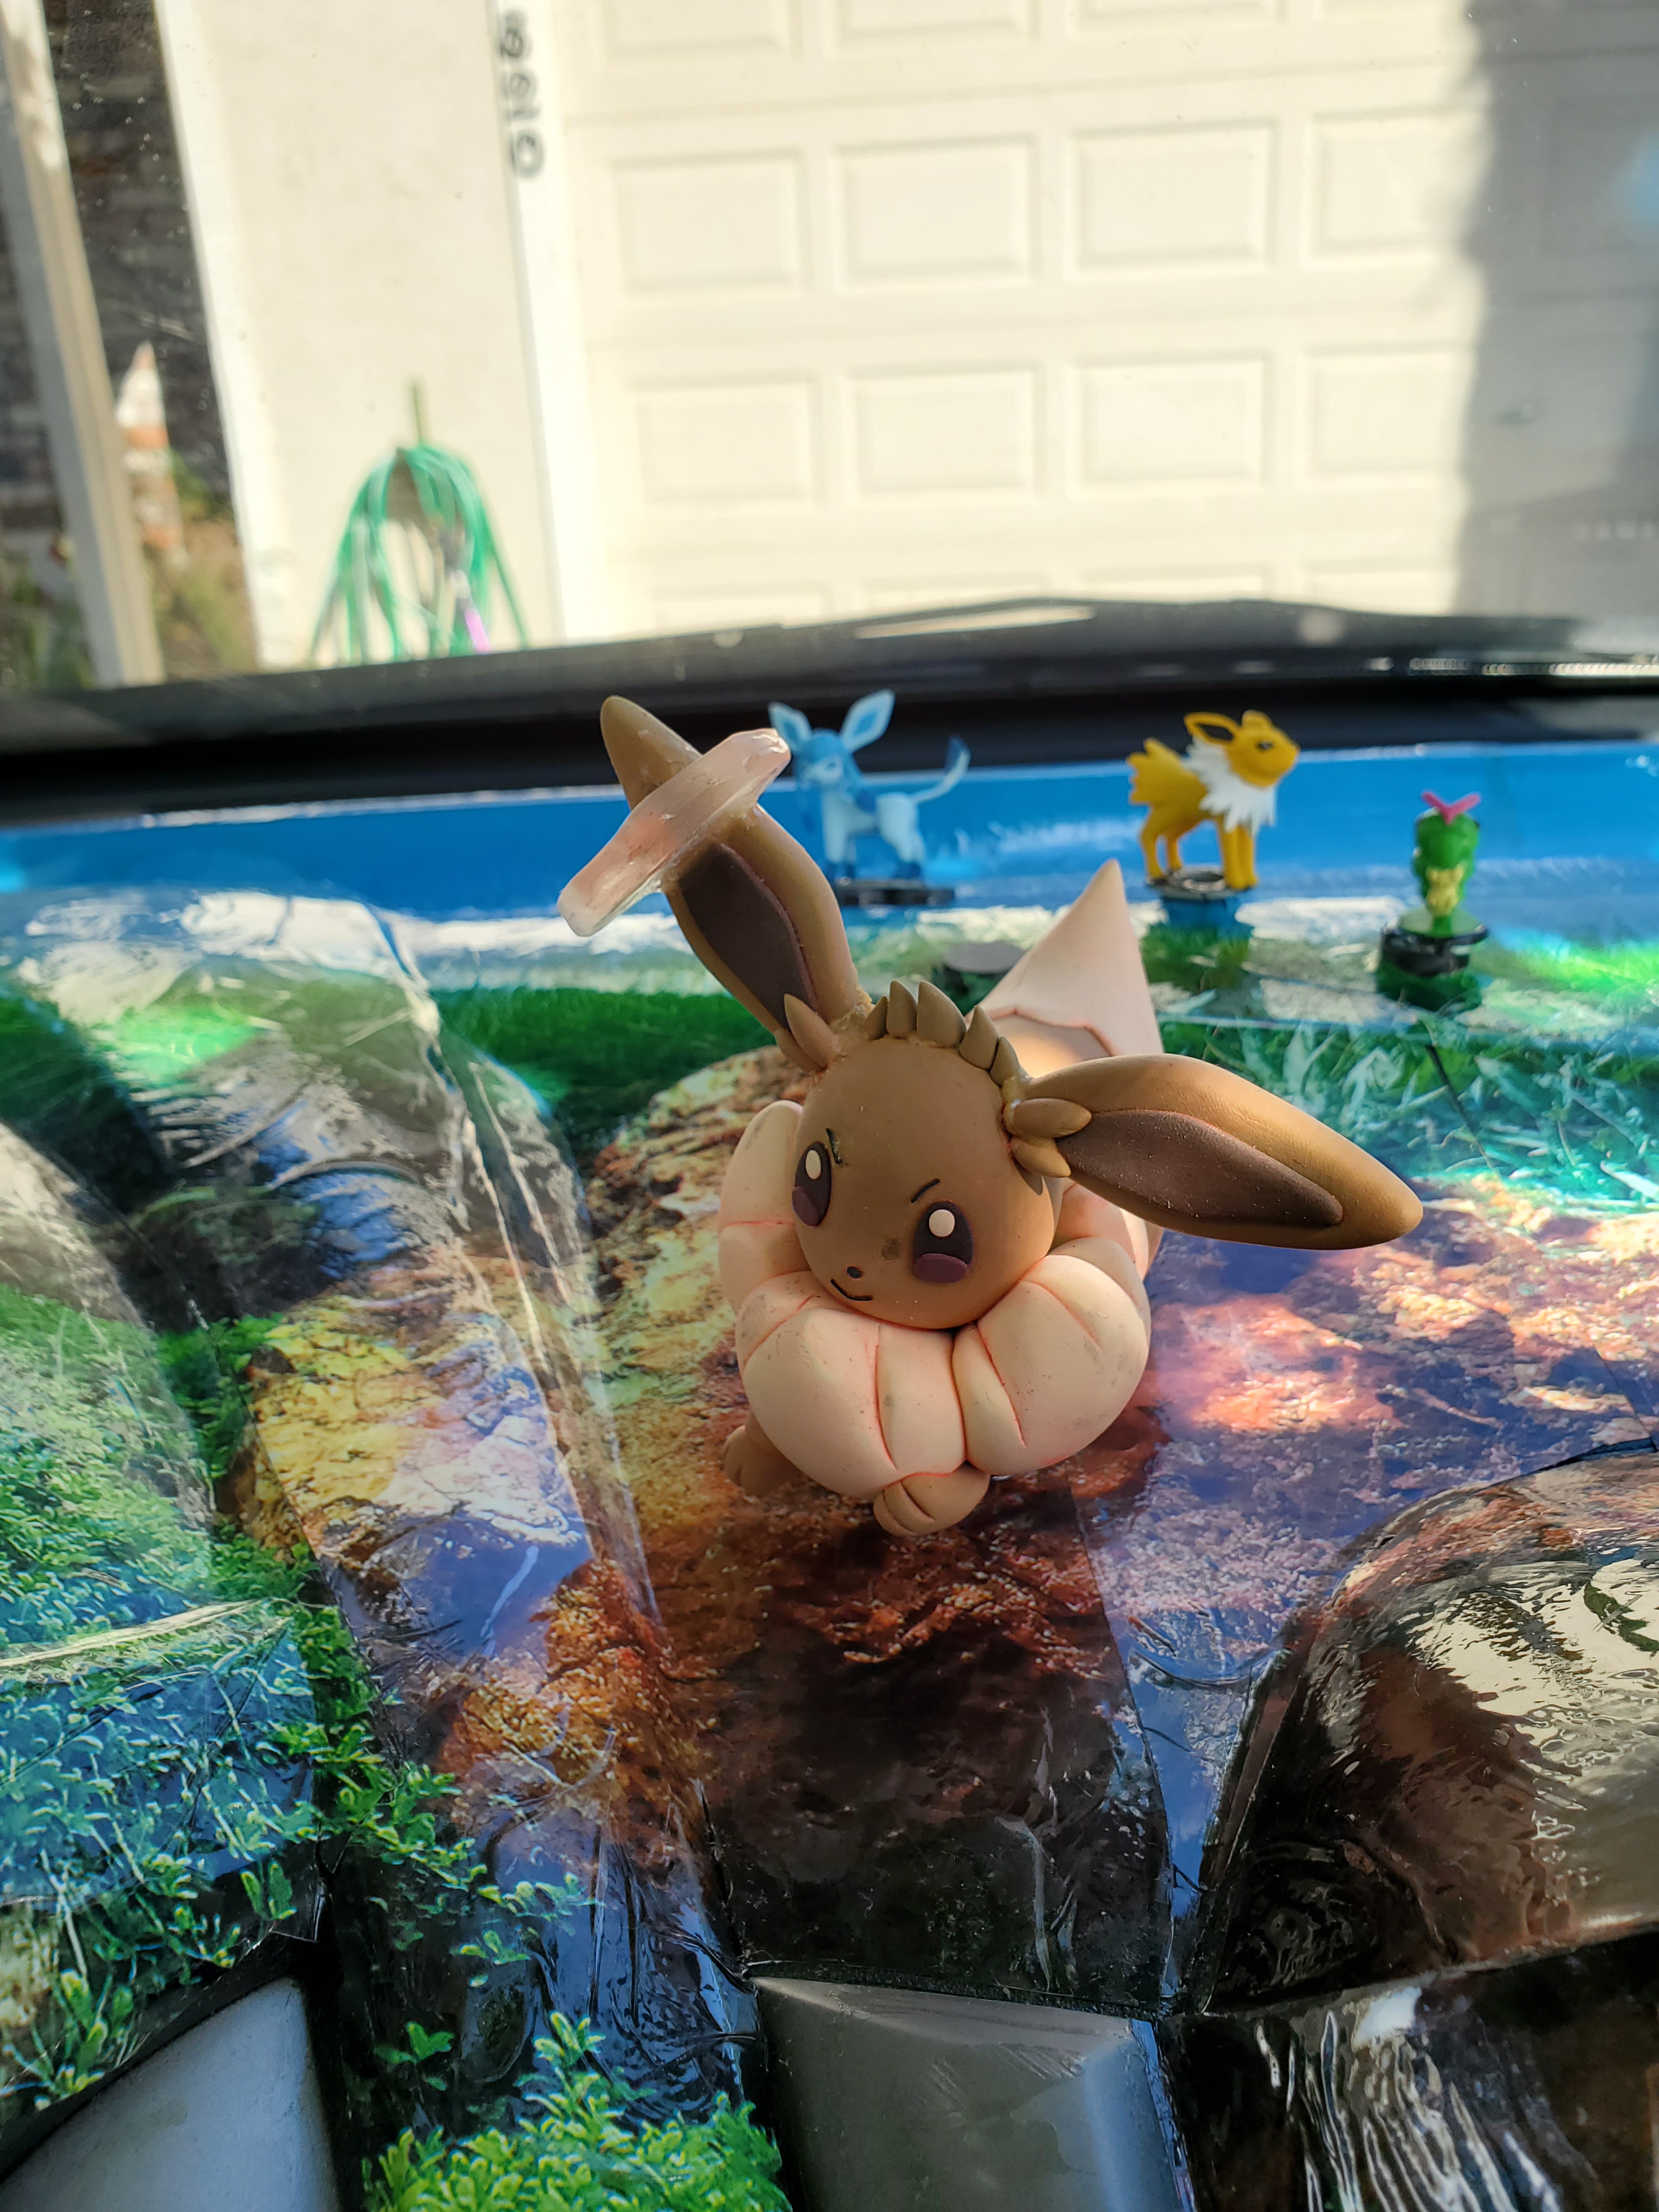
My plan was to have all the Eeveelutions as my Pokémon. That included Gigantamax Eevee, but there’s no cool figurine of it.

I found a clay figurine on Etsy. In between car gluing sessions I spiced up the big Eevee by adding a thin layer of fluorescent red paint to it and putting a halo of red balls around its ear using resin.
And then I took a few pictures and a video and bragged about it.

I took sick Eevee of my car and started thinking of a replacement. I settled on an Ash Ketchum figurine (actually Red, but whatever). He’s a bit bigger than the Eeveelutions, so he can still fit right in as the centerpiece.
I got the Ash figurine as a Father’s Day present. The figurine itself is modular with different legs, arms, faces, and hands to make all sorts of poses. It can’t stand in its own so it comes with a plastic base to mount the figurine on. I glued a washer to the base and put him in the car.
Ash promptly fell over in the car on the first turn. The base wasn’t securely attached with one washer. Easy fix, I glued more magnets down to the dashboard and put more washers on Ash.
This time Ash stayed upright for a few blocks before he wiggled himself off the plastic base. I could’ve glue him to the base, but that would ruin the modularity of his poses.
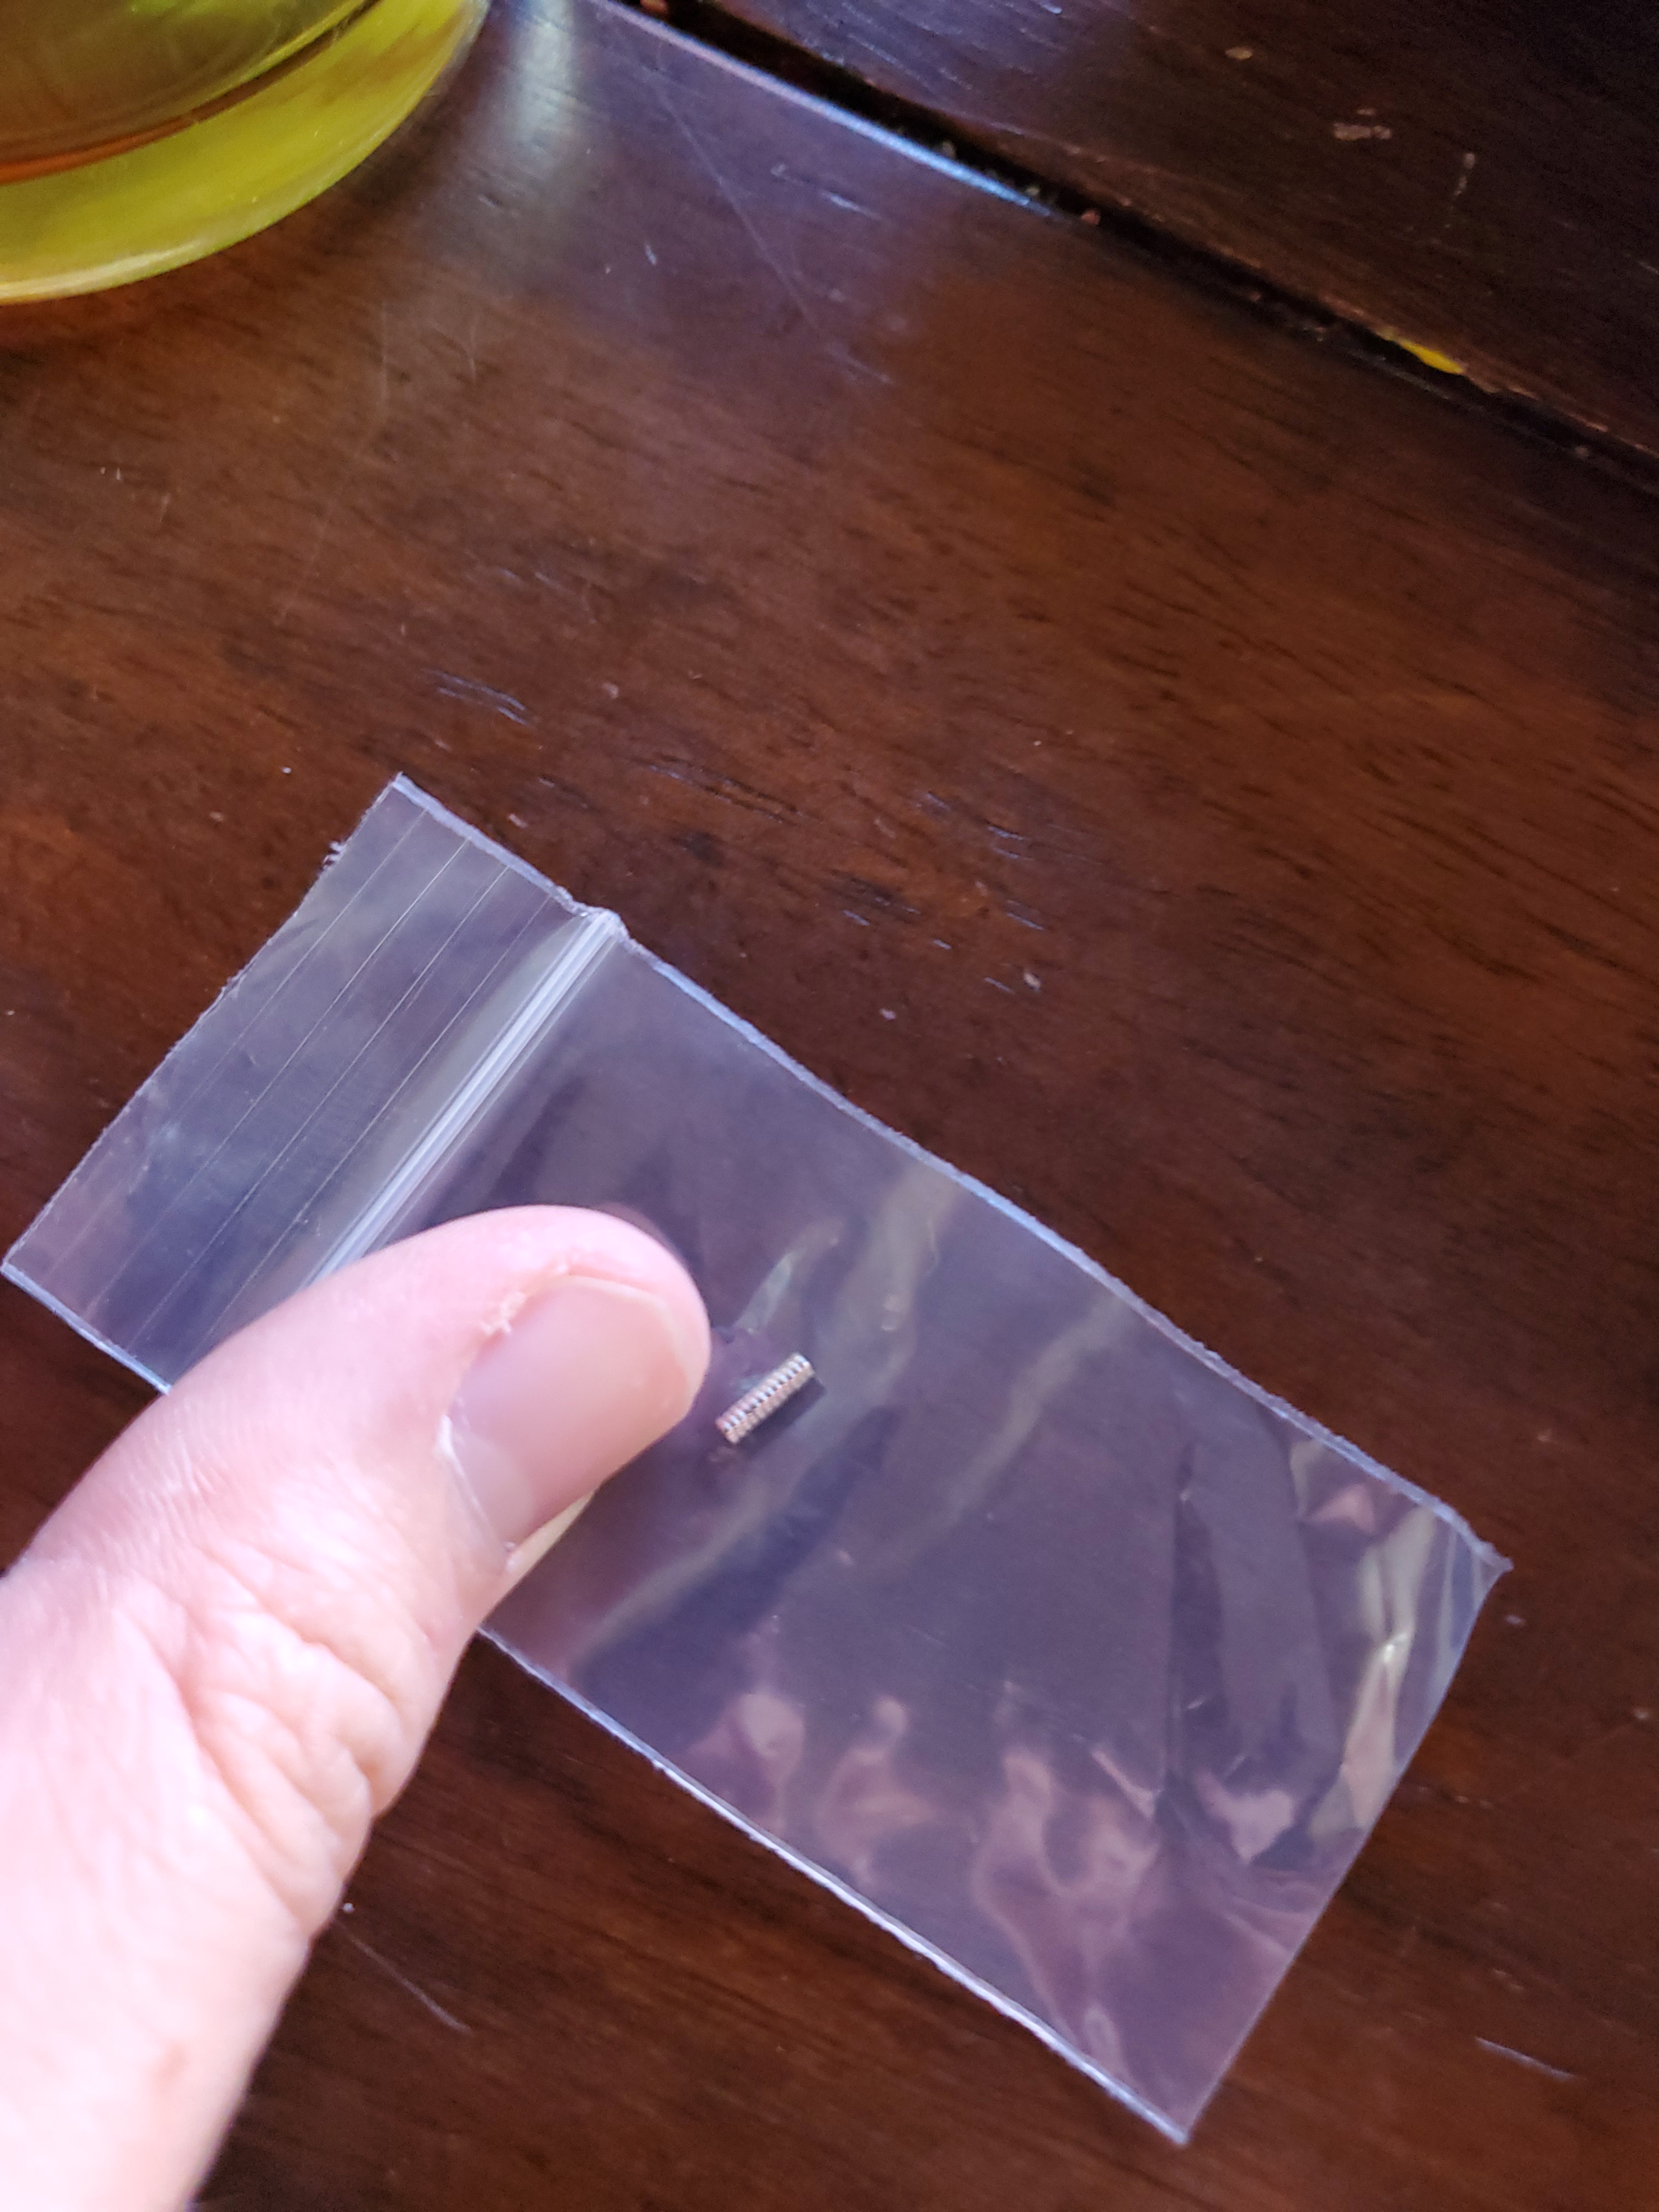
Which led me to more magnets! If I got some really tiny magnets I could glue them inside the fixture that connects Ash to the base. Then the magnetic force would overpower and wiggles caused by driving!

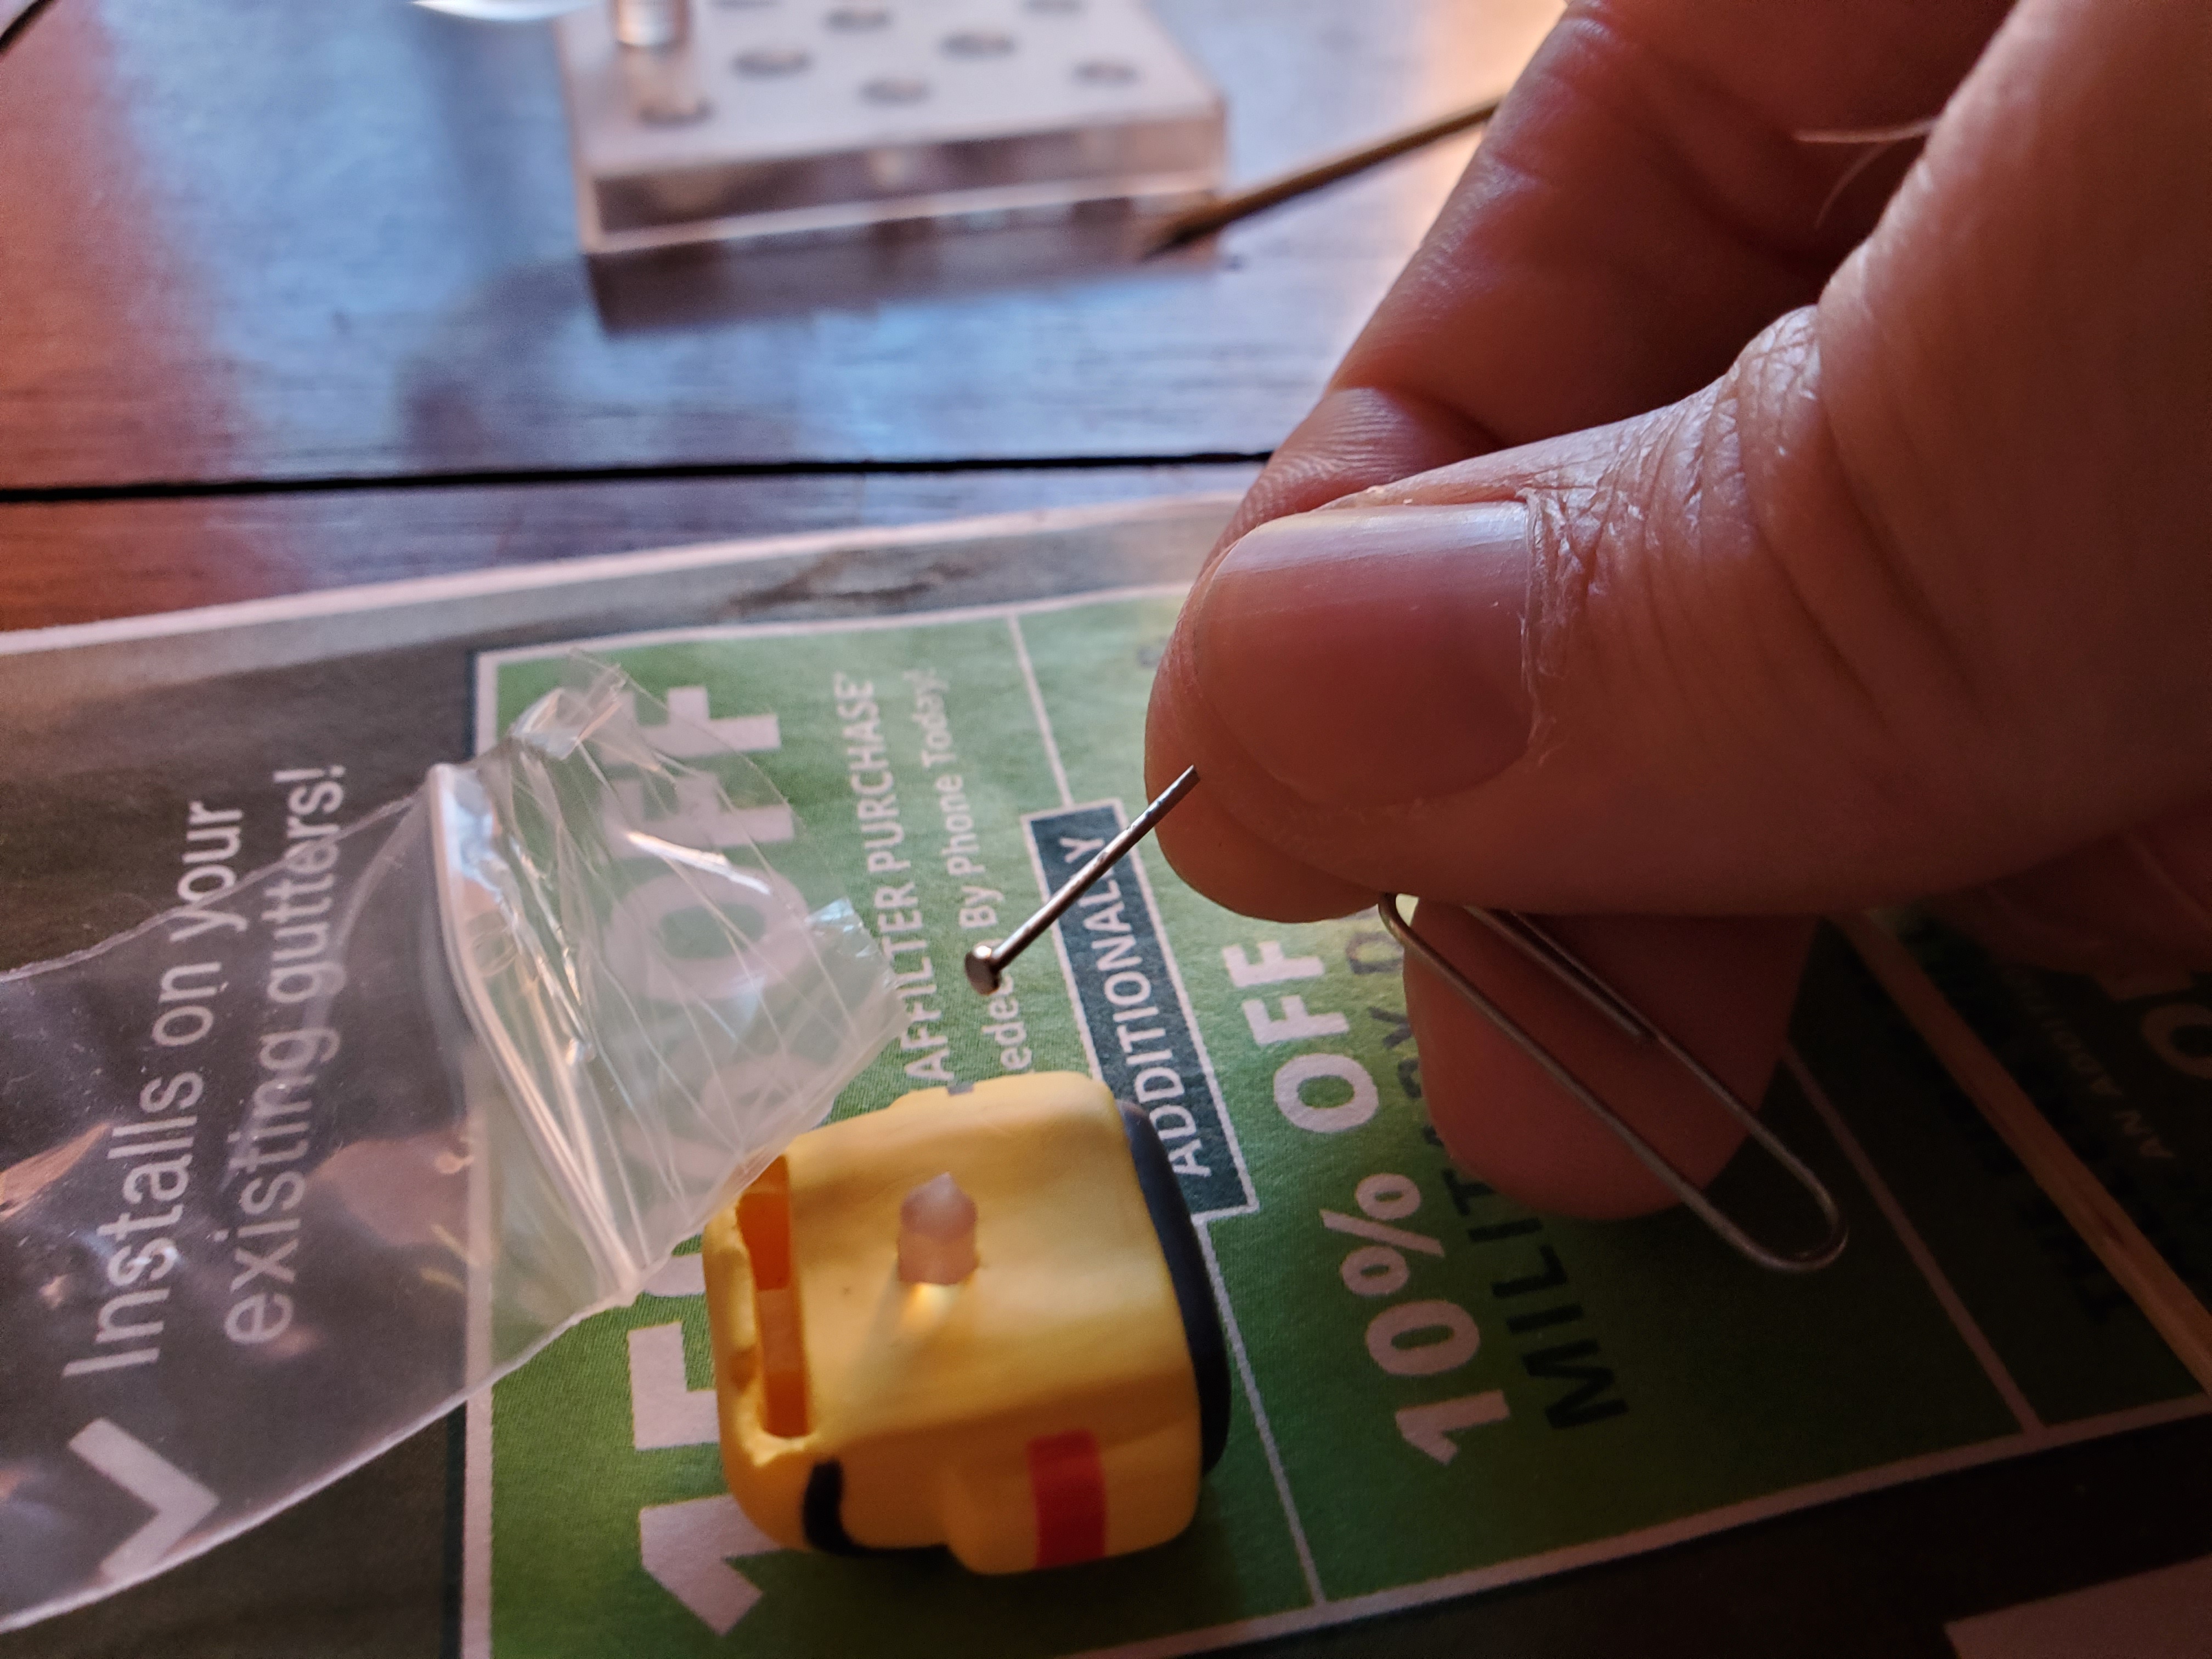
And it worked! The magnets held up and Ash is secure on the dashboard. My project is complete!


Leave a comment